The Great Escape: Ditching Your Water Heater in 10 Steps
Why Water Heater Removal Matters for Your Home
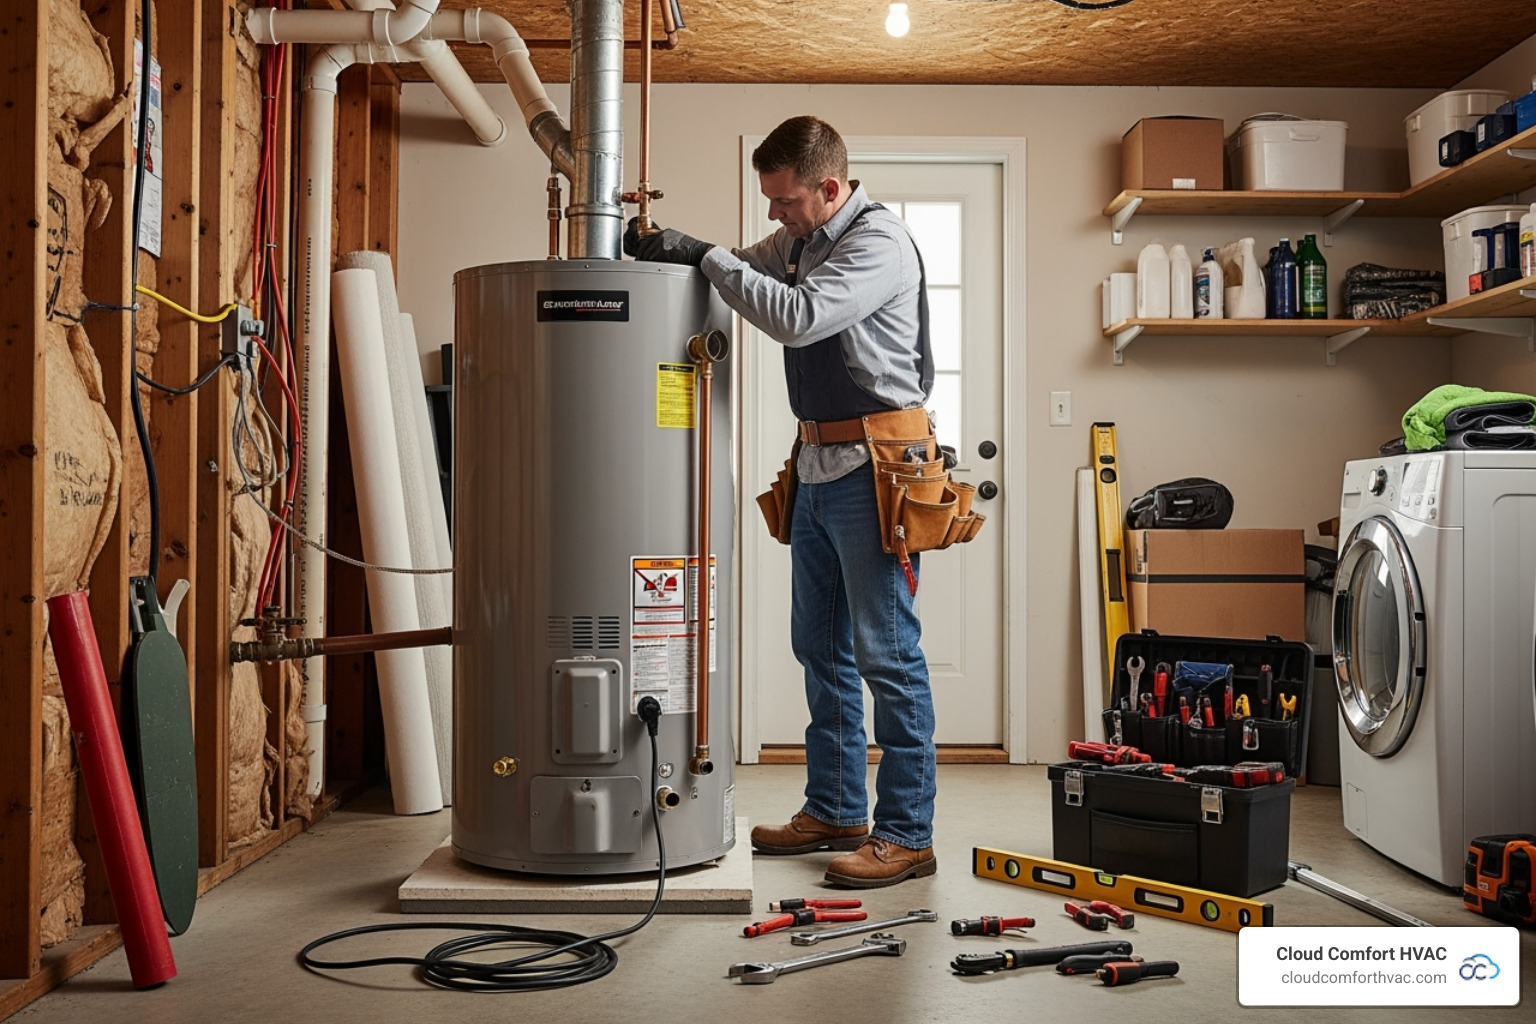
Water heater removal is a necessary task when your unit reaches its 10-15 year lifespan or fails. Whether you're upgrading to a more energy-efficient model or replacing a failing unit, understanding the process helps you decide between DIY and professional service. The job involves shutting off utilities, draining a tank that can weigh over 400 pounds when full, disconnecting pipes, and safely disposing of the old unit.
Quick Overview: Water Heater Removal Steps
- Turn off power/gas and water supplies
- Cool down the water and drain the tank
- Disconnect gas line or electrical wiring
- Disconnect water inlet/outlet pipes
- Remove vent pipe (gas models)
- Physically remove the unit
- Dispose of the old unit
For professional help with your project, Cloud Comfort HVAC offers expert water heater services throughout Southern California.
This guide walks you through each step of safely removing your old water heater, from prep to disposal. You'll learn the key differences between gas and electric models, when to call a pro, and how to avoid common mistakes.

Before You Begin: Essential Prep & Safety
Safety is paramount for water heater removal. You're dealing with a heavy appliance connected to water, gas or electricity, and potentially scalding water. Careful preparation is your insurance against injury and property damage. Always follow the safety instructions on your water heater and in the owner's manual.
Key Considerations for Gas vs. Electric Water Heater Removal
Gas and electric models require different safety precautions and disconnection steps. Knowing which you have is crucial.
| Feature | Gas Water Heater Removal | Electric Water Heater Removal |
|---|---|---|
| Utilities to Turn Off | Gas supply, cold water supply | Circuit breaker for the water heater, cold water supply |
| Key Disconnection | Gas line (at the union), vent pipe (flue) | Electrical wiring (high voltage, verify with multimeter) |
| Safety Risks | Carbon monoxide leaks if gas line isn't properly capped, gas explosions, burns from hot water, injury from heavy lifting. | Electrical shock, burns from hot water, injury from heavy lifting. |
| Additional Steps | Ensuring proper ventilation for the new unit, checking for gas leaks after disconnection. | Verifying 0 VAC with a multimeter after turning off the breaker, safely handling wiring. |
Gas water heaters involve flammable natural gas and carbon monoxide risks. You must turn off the gas valve, then disconnect and cap the gas line. If you're uncomfortable with gas lines, call a professional. Learn more about gas water heater cypress ca requirements.
Electric water heaters pose high-voltage electrical hazards. Flip the dedicated circuit breaker off, then use a multimeter to verify zero voltage at the unit. Never assume the power is off without checking, as breakers can fail.
Best Practices for Safe Water Heater Removal
These universal safety practices apply to every water heater removal project.
- Personal protective equipment (PPE) is essential. Wear heavy-duty work gloves and safety glasses.
- Clear your work area to ensure enough space to work and a clear path for removal. Move any tripping hazards.
- Water heaters are deceptively heavy. An empty 50-gallon tank is about 200 pounds, but over 400 pounds when full. Sediment adds even more weight. This is a two-person job, and an appliance dolly is highly recommended.
- Prevent water damage by completely draining the tank. Keep towels, a bucket, and a wet/dry vacuum ready for residual water.
- Check local codes and permits. Some municipalities require permits for removal and installation or have specific disposal rules. Contact your local building department to avoid fines.
- Gather the right tools for a smoother process. Essentials include adjustable wrenches, a pipe wrench, a garden hose, buckets, and an appliance dolly. For gas models, you'll need Teflon tape and a gas pipe cap. For electric models, a multimeter is crucial. You may also need a pipe cutter, hacksaw, adjustable pliers, and a flathead screwdriver.
The 10-Step Water Heater Removal Process
With preparation complete, follow these steps for a smooth water heater removal.
Step 1 & 2: Shut Off Power, Gas, and Water Supplies
First, cut off all utilities to the water heater.
- For electric models, flip the corresponding circuit breaker to "OFF." Crucially, use a multimeter to verify zero voltage (0 VAC) at the unit's electrical connections to prevent shock.
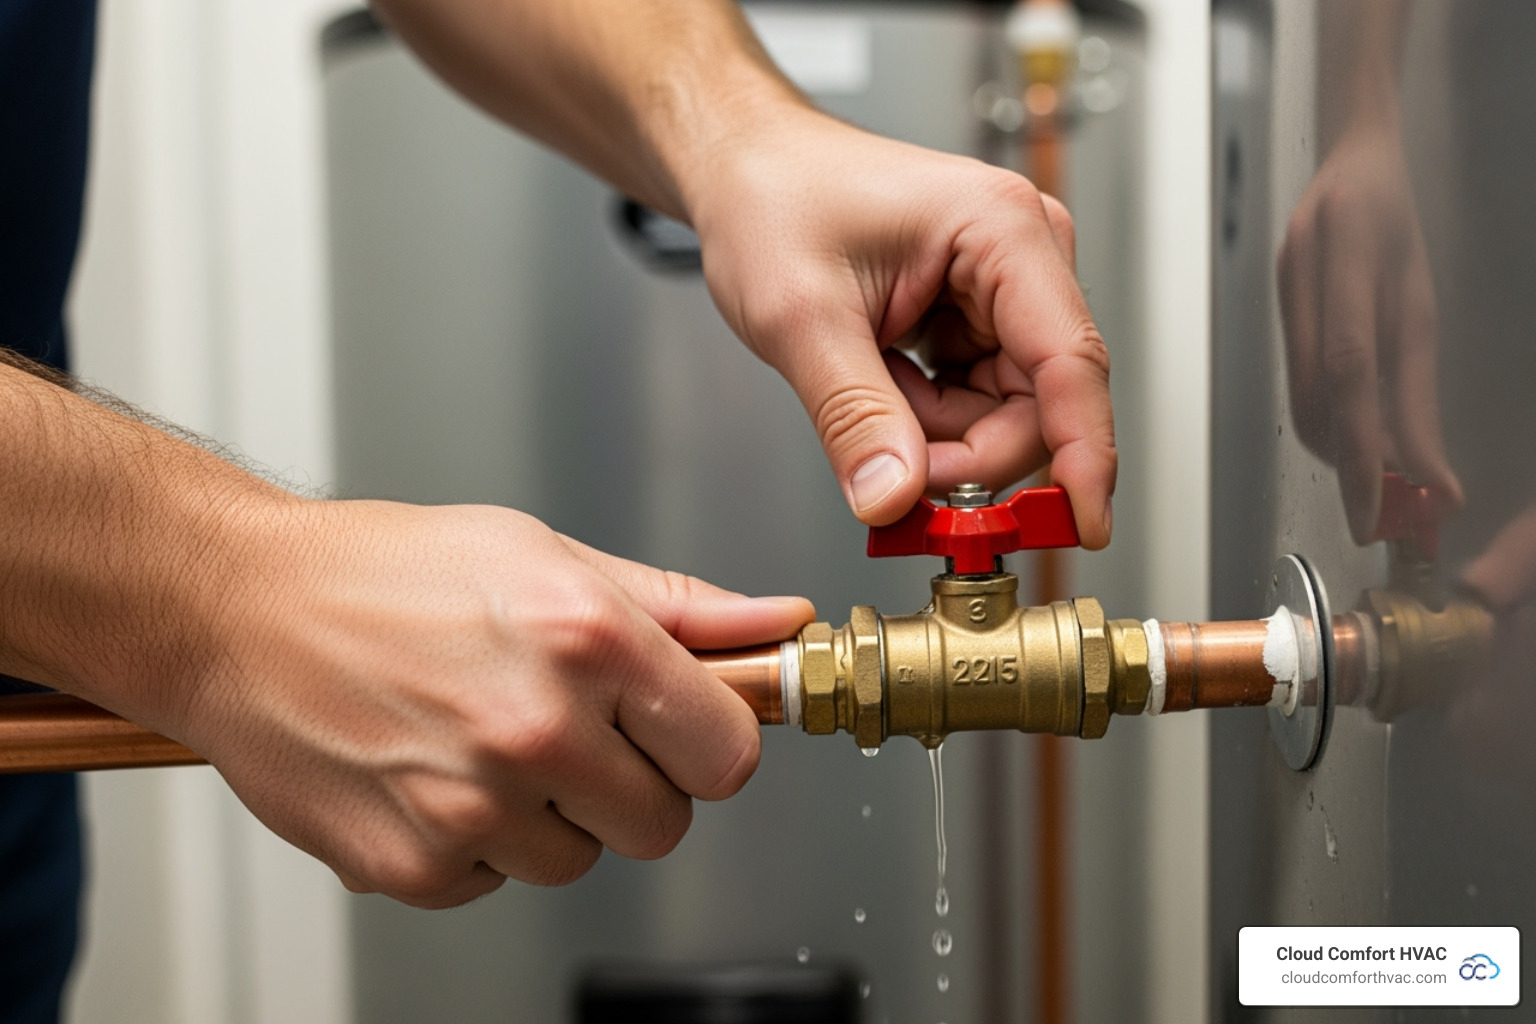
- For gas models, turn the gas control valve on the unit to "OFF." Then, shut off the main gas supply valve on the pipe leading to the heater (the handle should be perpendicular to the pipe).
- Finally, for both types, turn the cold water inlet valve at the top of the tank clockwise until it stops to shut off the water supply.
Step 3 & 4: Cool Down and Drain the Tank
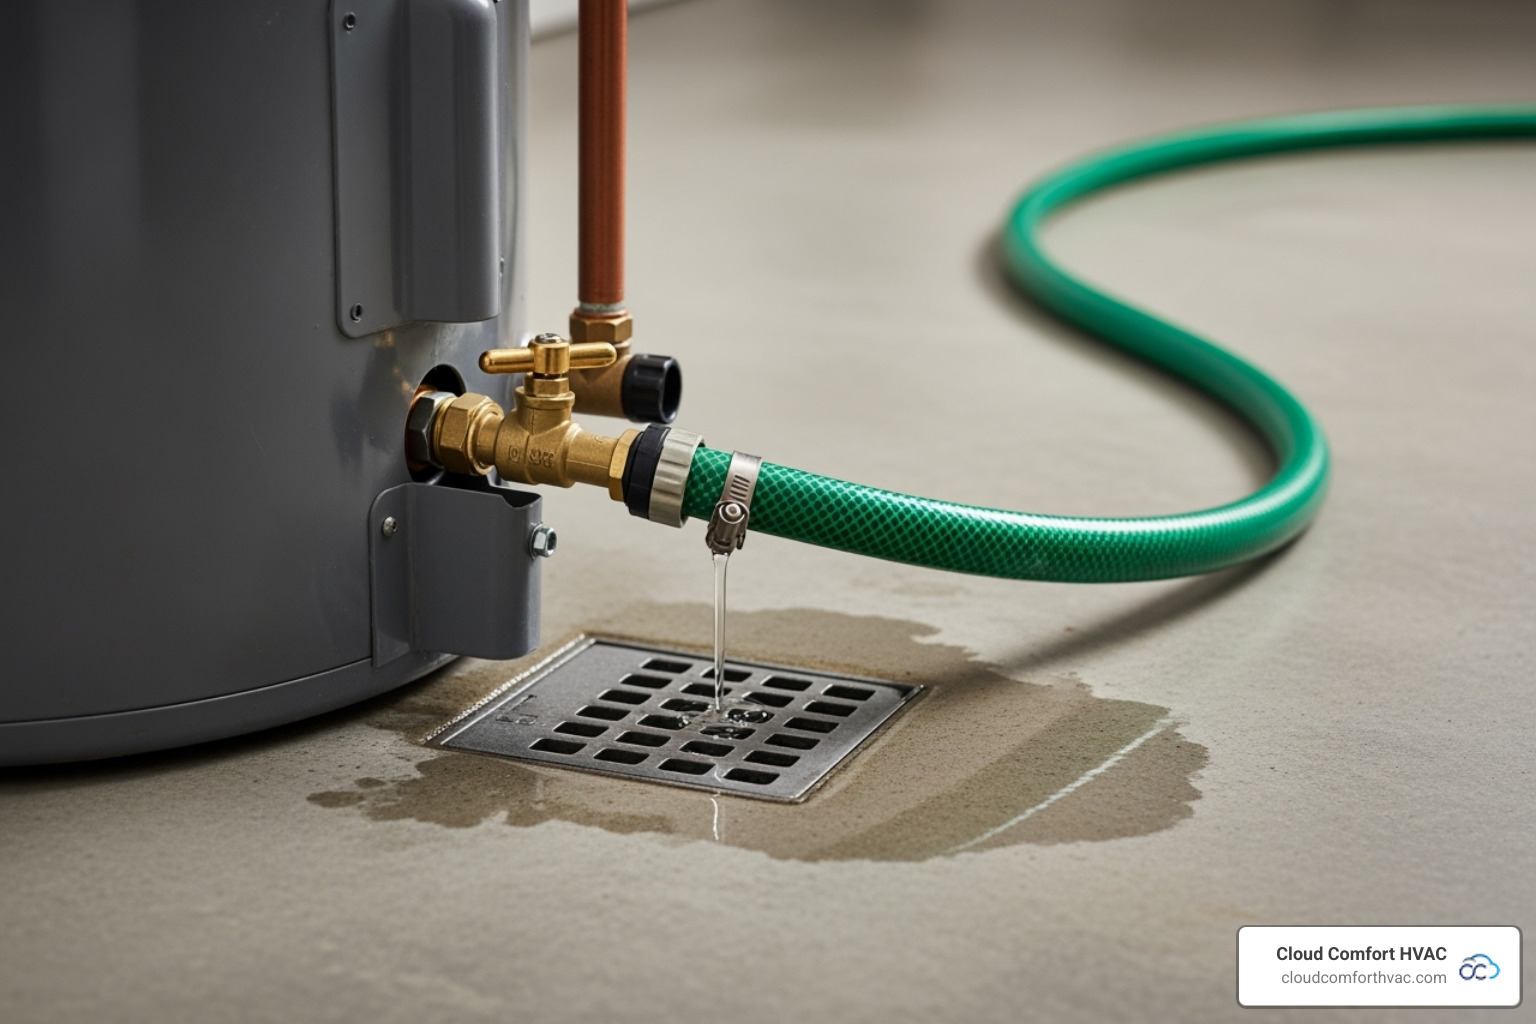
To avoid burns and make the tank lighter, cool the water by running a hot water faucet until the water is cool (10-15 minutes). Next, connect a garden hose to the drain valve at the bottom of the tank, running the other end to a floor drain, sink, or outside. Open the drain valve. To speed up draining, open the temperature and pressure relief (T&P) valve to let air in. Be patient, as sediment buildup can slow the process or clog the valve. If the tank remains heavy after draining, it may be clogged, and professional help is recommended.
Step 5, 6, & 7: Disconnect All Lines and Pipes
Once the tank is empty and utilities are off, disconnect the lines. Start with the hot and cold water lines at the top, using adjustable wrenches and keeping a bucket ready for residual water. If pipes are hard-plumbed, you'll need to cut them with a pipe cutter or hacksaw, leaving 4-8 inches for the new installation. For stubborn connections, consider professional water heater repair los angeles ca services.
For gas models, disconnect the gas line using two wrenches to avoid twisting the pipe. Immediately cap the open gas pipe with a gas cap and Teflon tape to prevent leaks. Finally, after it has cooled, disconnect the vent pipe (flue) from the draft hood, supporting it to prevent damage.
Step 8, 9, & 10: Physically Remove the Unit
This final phase causes the most injuries, so don't rush. First, clear a path from the unit to the exit, removing all obstacles and protecting floors. Plan your route, especially around stairs or tight corners.
Moving the tank is a minimum two-person job. An appliance dolly or hand truck is highly recommended; secure the tank with straps and move slowly. If lifting manually, bend at the knees, keep your back straight, and communicate with your helper.
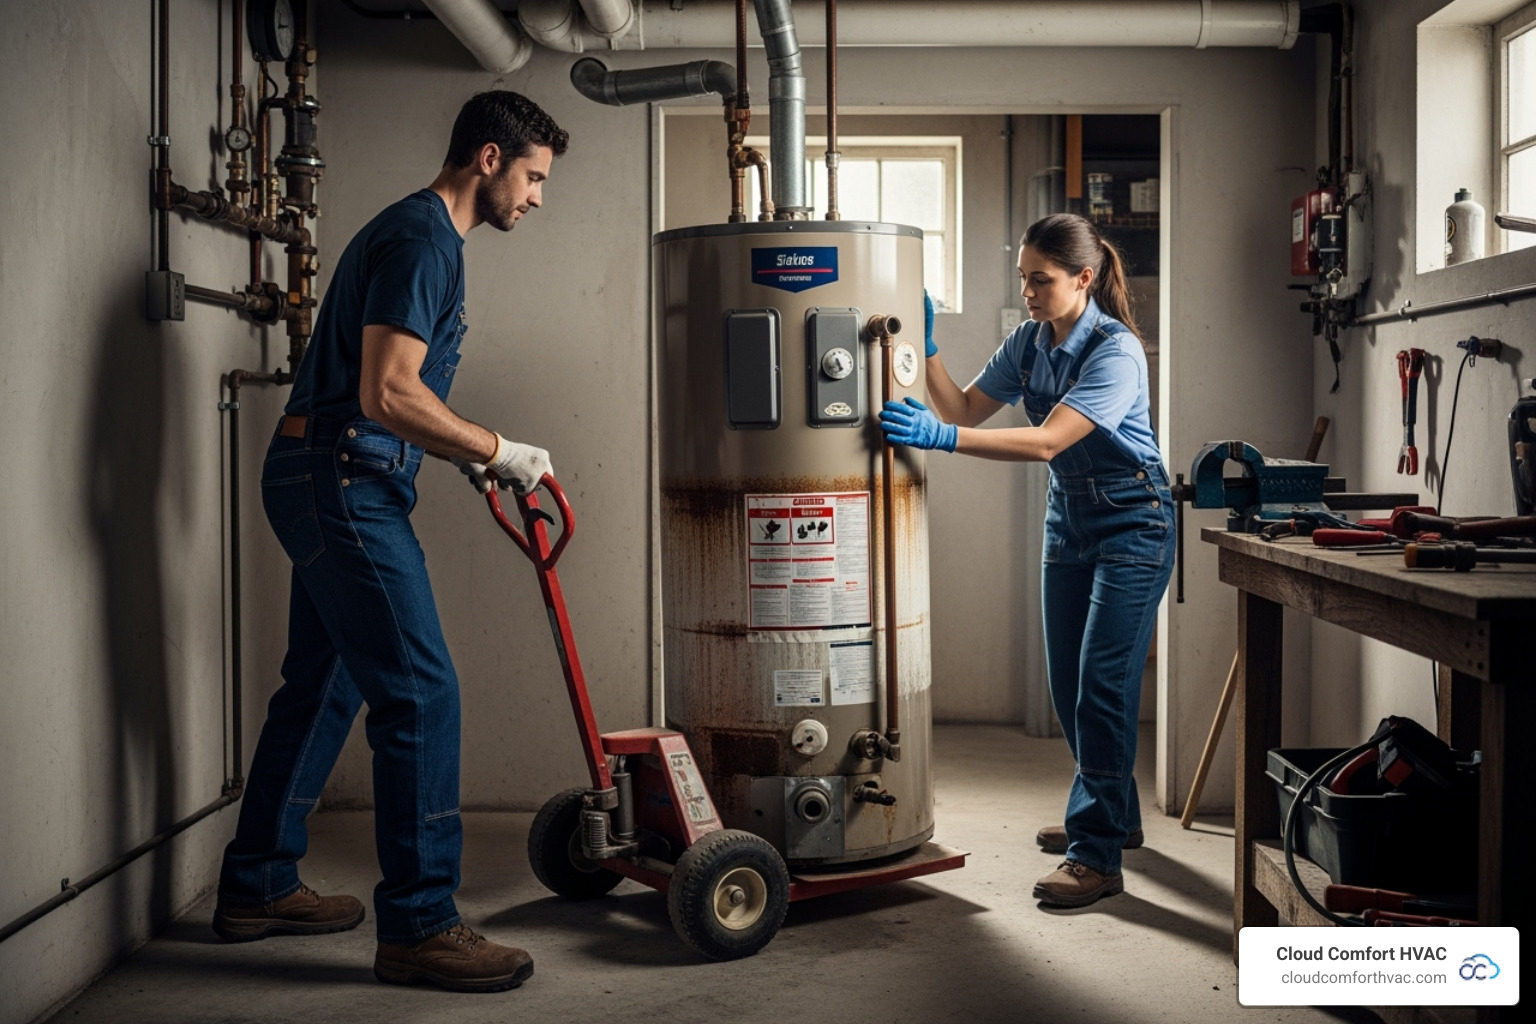
Navigating obstacles like stairs or pedestals requires extra care. For difficult access, tight spaces, or multiple flights of stairs, calling a professional is the smartest and safest choice. Your back will thank you.
The Final Haul: Disposing of Your Old Water Heater
After a successful water heater removal, the final step is proper disposal. You can and should recycle your old unit, as it's mostly valuable steel and copper. Here are your options:
- Recycling Centers: Call your local center to confirm they accept water heaters and to check their requirements, such as drop-off hours.
- Scrap Metal Dealers: These businesses will often take the unit and may pay a small amount for the valuable metals.
- Local Waste Management: Check with your city's waste management for bulk pickup days or designated drop-off locations for large appliances.
- Junk Removal Services: For a hassle-free option, these services will pick up the unit from your home and ensure it's recycled properly.
Always choose an eco-friendly option that prioritizes recycling. While the fiberglass insulation is less recyclable, some facilities can process it. Proper disposal is a key part of responsible water heater removal. If you're ready for an upgrade, Cloud Comfort HVAC offers expert water heater services to complete your project.
When to Ditch the DIY: Signs You Need a Professional
While DIY projects are satisfying, water heater removal sometimes requires a professional. Knowing when to call for help protects your safety and your home. Here are signs you need a pro:
- Complex Plumbing: Heavily corroded pipes, significant rust, or confusing hard-plumbed lines are best left to a plumber to avoid a flood.
- Gas Leaks: If you smell gas, stop immediately, evacuate, and call your gas company and a professional. This is non-negotiable.
- Electrical Issues: High voltage is dangerous. If you're unsure about frayed wiring or safely disconnecting the power, call an electrician.
- Structural Challenges: For units in tight closets, crawl spaces, or locations requiring navigation of narrow stairs, professionals have the equipment and experience for safe removal.
- Lack of Tools or Confidence: If you don't have the right tools or feel uncertain about any step, it's wise to call for help. We provide comprehensive services for water heater replacement los angeles ca and throughout Southern California.
- Leaking Tank: A tank leaking from the bottom indicates structural failure and requires prompt, professional attention.
Recognizing when a job is beyond your skill set is the smartest move you can make.
Frequently Asked Questions about Water Heater Removal
How heavy is an old water heater?
Water heaters are deceptively heavy. An empty 50-gallon tank weighs around 200 pounds. When full, it can exceed 400 pounds, not including the extra weight from years of sediment buildup. This is why completely draining the tank and using two people and an appliance dolly for the move is critical for safety during water heater removal.
How long does it take to remove a water heater?
For a DIY water heater removal, plan for 2 to 4 hours. The exact time depends on your skill level, the tank size, and any unexpected issues like rusted fittings or a clogged drain valve. Gas models may take slightly longer due to disconnecting the gas line and vent pipe. It's better to allow extra time and work carefully than to rush.
Can I reuse any parts from my old water heater?
While tempting, it's best practice to use new parts when installing a new water heater for safety and reliability.
- T&P Relief Valve: Never reuse this critical safety device. Always install the new one that comes with your new unit to prevent dangerous pressure buildup.
- Pipes and Fittings: Old connections can be corroded or worn, leading to future leaks. New fittings ensure a tight, reliable seal.
- Vent Pipe (Gas Models): While it might be reusable if in perfect condition and compatible, a new vent pipe is often recommended to ensure safety and performance.
Using new parts aligns with manufacturer warranties and current safety codes, giving you peace of mind.
Conclusion
Successfully completing a water heater removal is a significant accomplishment, involving careful planning and heavy lifting. While a DIY approach can be rewarding, it's wise to recognize when a job requires professional expertise. Issues like gas leaks, corroded pipes, tricky wiring, or difficult access are all valid reasons to call a professional.
That's where Cloud Comfort HVAC comes in. We make your water heater transition smooth and stress-free. Whether you need help with removal, an energy-efficient upgrade, or expert installation, our team has the experience to get it done right. We proudly serve homeowners throughout Southern California, including water heater replacement buena park ca, water heater installation anaheim ca, water heater repair culver city ca, water heater replacement hermosa beach ca, and many other communities.
Ready for consistent, efficient hot water? Explore our water heaters services today, or reach out to us for professional assistance. We're here to help you every step of the way.

.avif)
Customer Testimonials
Hundreds of 5-Star Reviews on Google Show Our Commitment to Customer Satisfaction


New Air Conditoining Unit for as low as $79/mo + Free Wi-Fi Thermostat
(Or As Low As $4,995 as a One-Time Payment)
FINANCE WITH $0 PAYMENTS & 0% INTEREST FOR 12 MONTHS, OAC
Hurry! Offer Ends Soon.